Interested in diving into SMS and email marketing with the new Marketing Funnels feature, but not sure where to start? We’ve got you covered. Follow these 6 steps to hit the ground running with effective marketing campaigns.
Follow these 6 steps and let’s get you acquainted with the new Marketing Funnels feature. Once you get to the end of these exercises, you’ll be ready to get smart with your SMS and Email campaigns - segment your contacts, create campaigns, set up automatic workflows, track your performance, and more.
Step 1: Grow your contacts
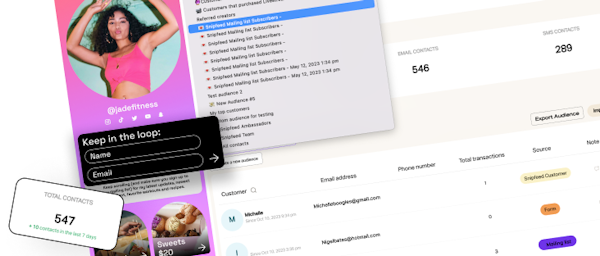
Snipfeed’s Marketing Funnels tool allows you to organize and grow your contact list with an engaged audience. There’s several ways you can start growing your list with valuable leads and members of your community:
Start with these two steps to build a solid database of contacts:
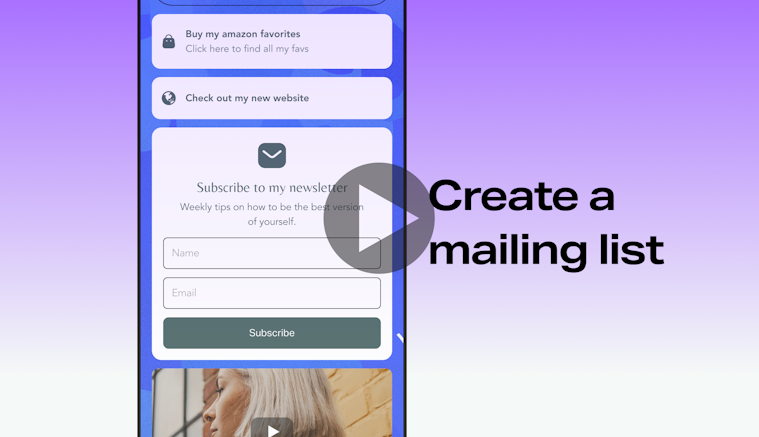
Ensure the Mailing list block is live on your Snipfeed page (so followers can opt in)

Import existing contacts you already have from other platforms you’ve tried or lists you have collected. You can import them via a CSV file.
The following contacts will be added to your database automatically:
Customers: anyone who purchases or downloads anything on your Snipfeed page
Referred creators: anyone you have brought onto to Snipfeed via your referral link
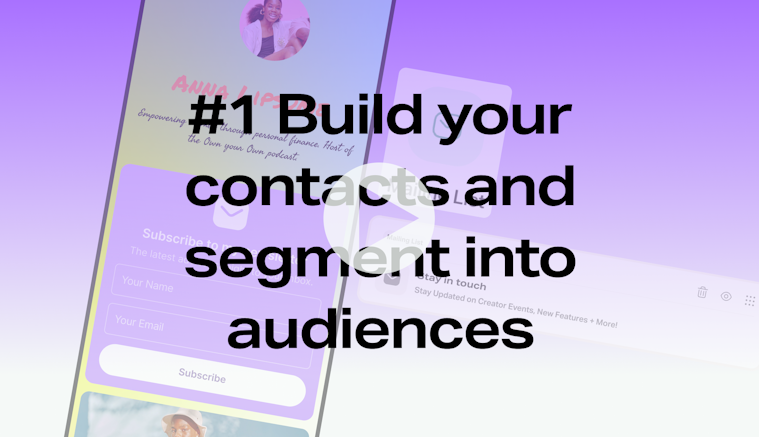
Step 2: Segment your contacts into audiences
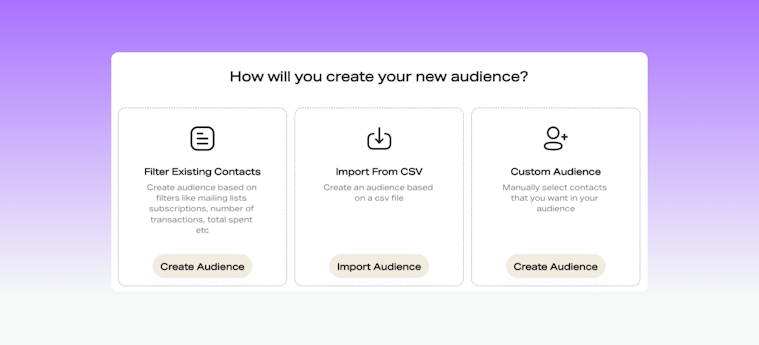
Once you have a list of contacts on your Snipfeed page, you can start segmenting them into audiences. That way, you’ll be able to send specific email and SMS campaigns to different groups of customers (increasing the performance of your marketing messages). There are 3 different ways you can create custom audiences.

Tip: Audiences are dynamic. Whenever a new contact is added to your contact list, they will automatically be added to your audience if they meet the criteria you have set.
Filter your existing contacts. Create audiences based on characteristics and actions your contacts are making. For example, you can filter contacts that have signed up to your mailing list, customers who have purchased specific offerings, or other filters such as followers who have bought offerings during certain time periods.
Create an audience from a CSV file. You might have an audience from another marketing platform or a mailing list you collected a while back.
Curate a custom audience. You might want to hand pick certain contacts to send out a campaign. Go through your contact list on Snipfeed and pick the contacts you’d like to add manually.

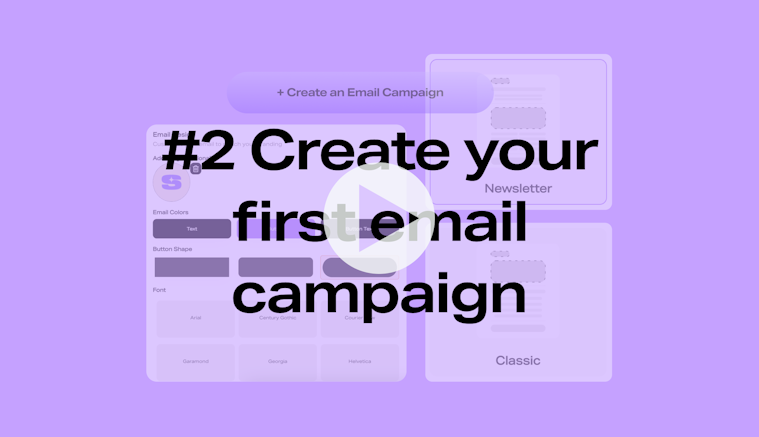
Step 3: Set up your first Email campaign
Once you have filtered and sorted your contacts into an appropriate audience you want to reach, you can start by setting up your first email campaign.
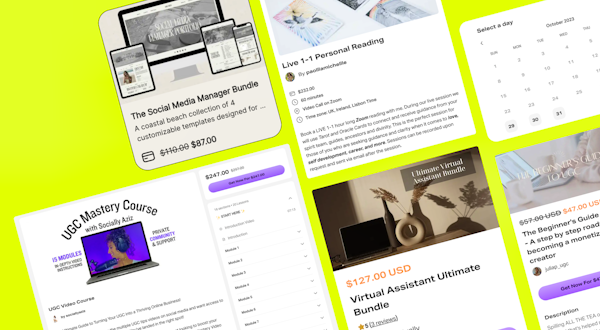
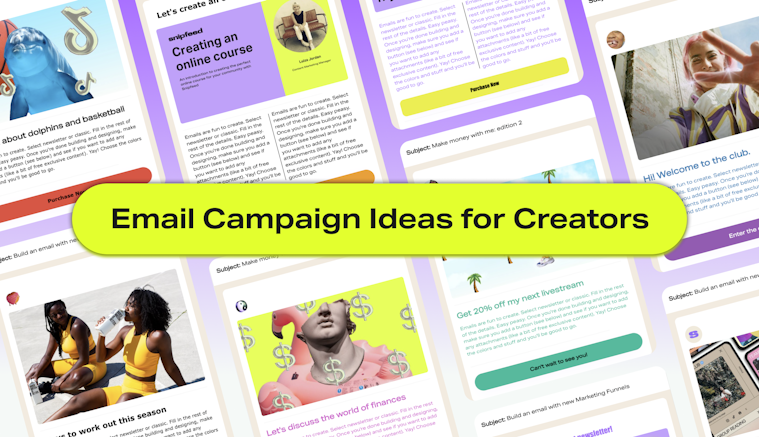
There are plenty of different types of campaigns you can set up to make sales and engage your community - we created a resource below to inspire you.

Find the Campaigns tab of your Marketing Funnels dashboard. Click + Create an Email Campaign.
To begin, let’s imagine you’re setting up a newsletter for all your contacts.
Begin your campaign within the Campaigns section of your dashboard.
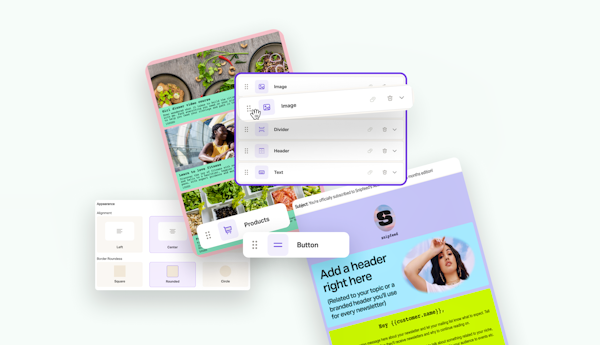
Enter your campaign info - In this instance, you’ll pick a Newsletter template. Add body text, a header image, subject line, and a call to action button link.
Attach any files (Top tip: include a gifted service or digital product for your first newsletter to keep customers engaged).
Personalize your email with all the correct contact properties (the email you want to send it from, the name that will appear, etc).
We always recommend you test your email before sending to check for any mistakes. Click "See how your email looks. At the bottom of the email builder.
Once you’re done building, either hit ‘send’ or schedule a day and time you want you campaign to send. When you hit ‘save and send’, your email campaign will appear on your dashboard as “Pending”.

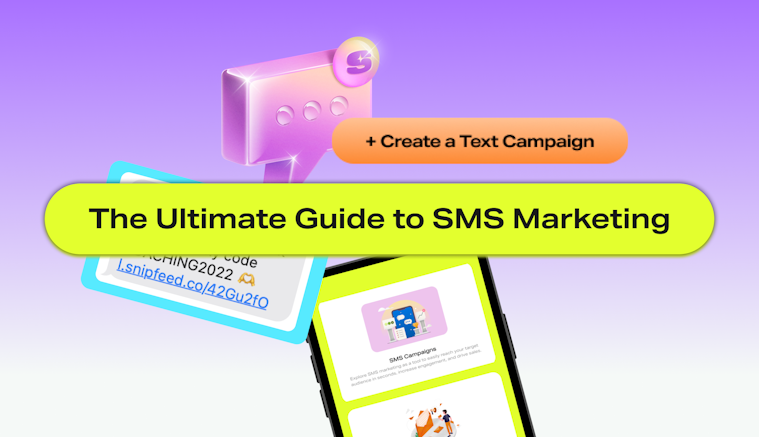
Step 4: Create an SMS campaign
Now it’s time to try out your first SMS. Follow the steps below and be sure to check out the SMS guide below for further strategy ideas and a few do’s and don’ts.

Here's how to get started:
Find the Campaigns tab of your Marketing Funnels dashboard. Click + Create a text campaign.
Start drafting your message.
A good place to start here might be simply sending a welcome message to your contact list. For example:

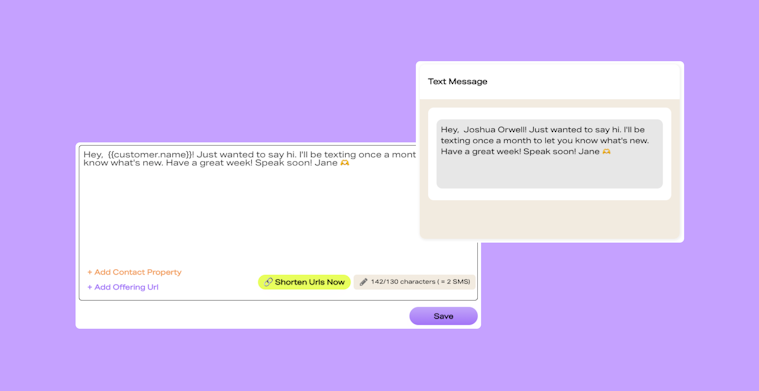
Always add a Call to Action link. Think about the goal of your message and the action you’d like your customer to complete after reading it. Any links you add will be shortened automatically - which means you’ll be able to track who clicks on your links and you’ll have more characters left for your message.
Consider your character limit. There’s 130 characters in an SMS message. If you need to write more, you can - we’ll count it as more than one SMS (keep in mind, this will require more credits).
Pick an audience you created beforehand. For example, do you only want to send this SMS to contacts that have signed up to your mailing list? Or people who have registered for your Livestream next week? Your choice.
Send yourself a test SMS - always recommended to make sure everything’s perfect.
Choose a date and time to send your SMS. Tap Save and Send (or save as a draft) and Viola! You’re all done.
Step 5: Get to know Automatic Workflows
First, what is an automatic workflow?

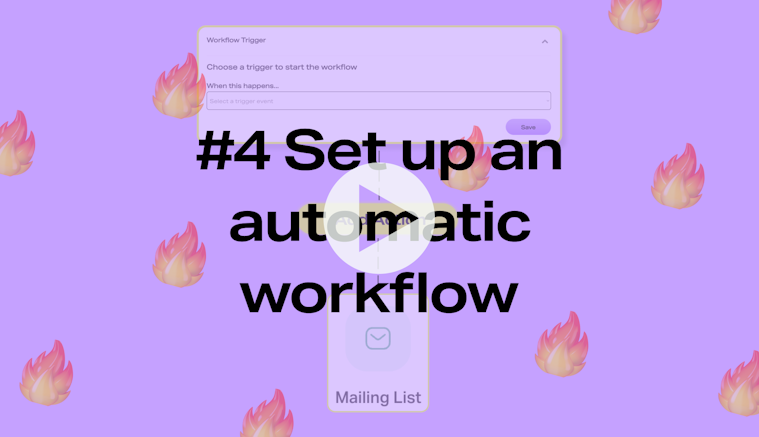
An automated workflow is a system of automated processes and tasks that enable you to efficiently manage your communications. They allow you to save time, reduce daily admin (like remembering to send that email…), hit customers at the perfect times, and ensure the accuracy of your emails and SMS messaging.
You’ll be able to find your workflows tab along the top of the Marketing Funnels section of your dashboard.
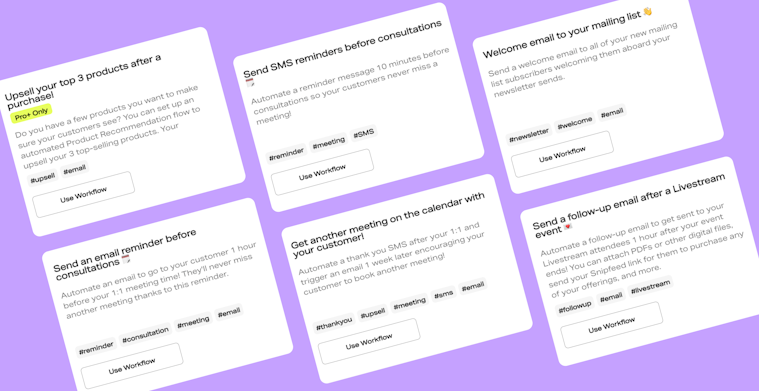
1: Decide if you’d like to start your workflow from scratch or pick one of the templates we provide. Starting with a template is a great way to get going - we’ve provided tons of ideas for you to start making sales and keeping your contacts engaged.

2: Pick your trigger
So let’s go deeper. Your email and SMS campaigns can be sent based on a number of ‘triggers’ on your Snipfeed page - pick one to start off your workflow. See examples of triggers below.
3: Choose an action
Once you’ve picked your trigger, you can then go ahead and specify your Action. How long after your trigger would you like to send your campaign? For example, you might want to send an SMS welcoming someone one hour after they sign up to your mailing list.
4: Now, choose your action type.
Do you want to send an SMS or an email? At this step, you’ll be able to build the communication you’d like to send.
5: Add other actions (follow the steps above again).
Step 6: Track, review, optimize, repeat!
With advanced analytics, track the performance of your email and SMS marketing campaigns on an individual level - look at clicks, open rates, engagement levels, and even track sales made from your marketing efforts.

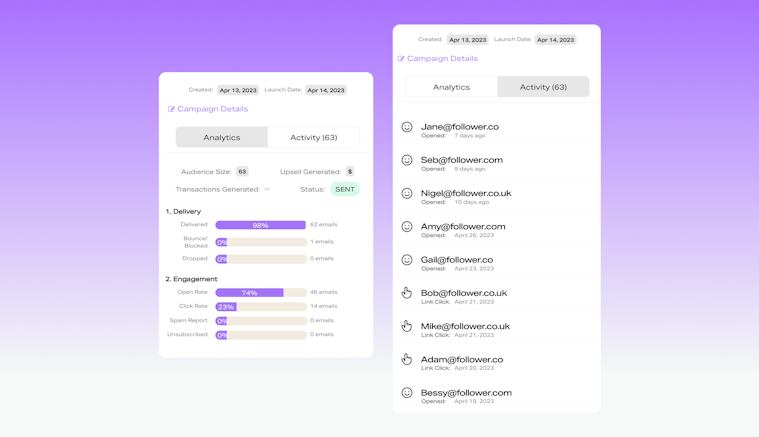
That way, you'll be able to measure the success of your campaigns with tracking and analytics capabilities and optimize your messaging for maximum engagement and sales. Plus, you'll have access to upsells and transactions generated from your campaigns so you can see how effective your strategies are. With Snipfeed's Marketing Funnel, you can maximize your online sales and grow your business!
To start using Marketing Funnels, you need to be on the Starter, Pro, or Pro plus plan to get different levels of access. Head to the Marketing Funnels feature below to check it out and pick your plan.